Roof edges + valleys
Look for overflow staining, debris dams and places where concentrated roof runoff can overwhelm a short gutter section.
Drone-assisted gutter inspection
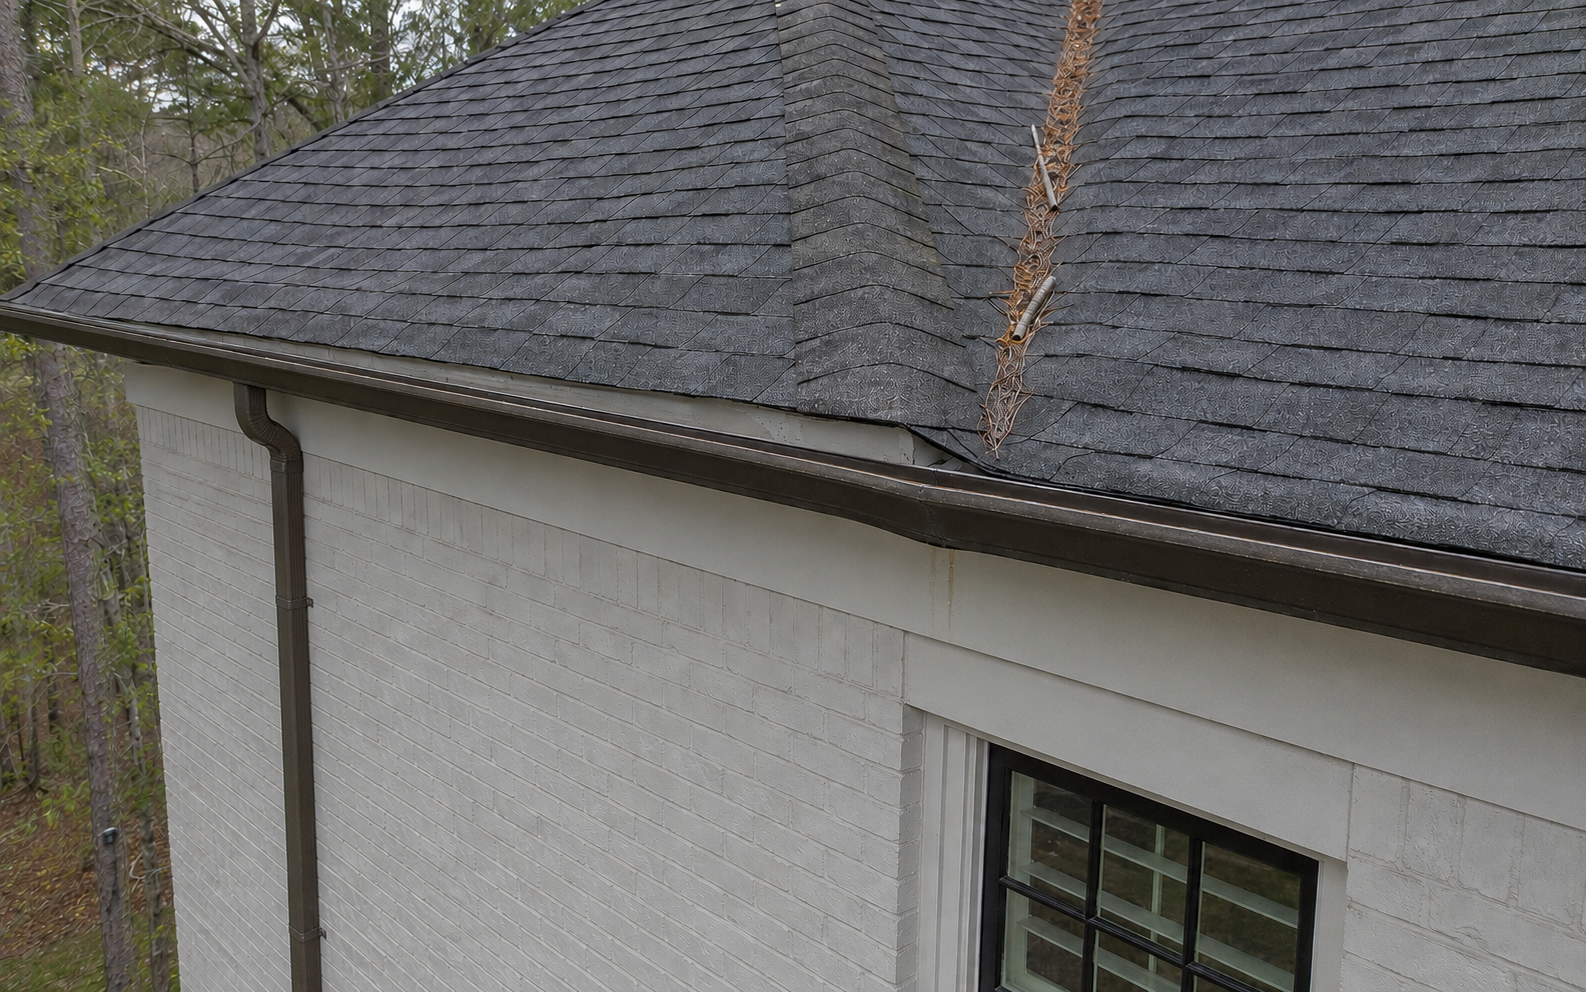
An inspection connects what is happening above the fascia with the staining, erosion or moisture showing up below it. Aerial photos can expose upper-story trouble spots that are easy to miss from the driveway.

What the inspection looks for
The goal is not a collection of impressive aerial photos. It is a clear record of where water enters the system, where flow may be interrupted and where it leaves the property.
Look for overflow staining, debris dams and places where concentrated roof runoff can overwhelm a short gutter section.
Identify visible sagging, separated fascia connections and sections that may retain water after rainfall.
Document staining, corrosion and repeated wet marks that can indicate a small active leak.
Confirm that outlets appear open, downspouts remain connected and discharge does not stop beside the foundation.
Early evidence changes the decision
A recurring wet line behind a gutter, a low section holding water or a loose miter may be repairable before the fascia, soffit or landscaping absorbs repeated runoff.
Inspection process
Drone use depends on weather, visibility, surrounding trees, property conditions and applicable flight rules. When an aerial pass is not practical, the scope should shift—not the safety standard.
Overflow location, staining, storm history and prior repairs help direct attention to the right roof planes.
Downspout routing, erosion, wall staining and accessible attachment points are assessed from the property.
A controlled aerial pass records valleys, upper runs, miters and difficult roofline transitions without using the drone to touch the home.
Useful photos are grouped by location so the homeowner can distinguish maintenance, repair and replacement concerns.
Immediate water-control problems come first; cosmetic or monitor-only conditions remain clearly separated.
The limit of an aerial view
Photography can document alignment, staining and visible debris. It cannot confirm hidden wood strength, an internal downspout blockage or fastener holding power. Those conditions may require safe physical access or controlled flow testing.
The final scope should state what was visually observed, what was tested and what remains unconfirmed.
Start with evidence
Share the home location, height and the symptom you have noticed. A local professional can confirm whether a ground review, drone-assisted inspection or hands-on assessment is appropriate.
Request a gutter inspection